
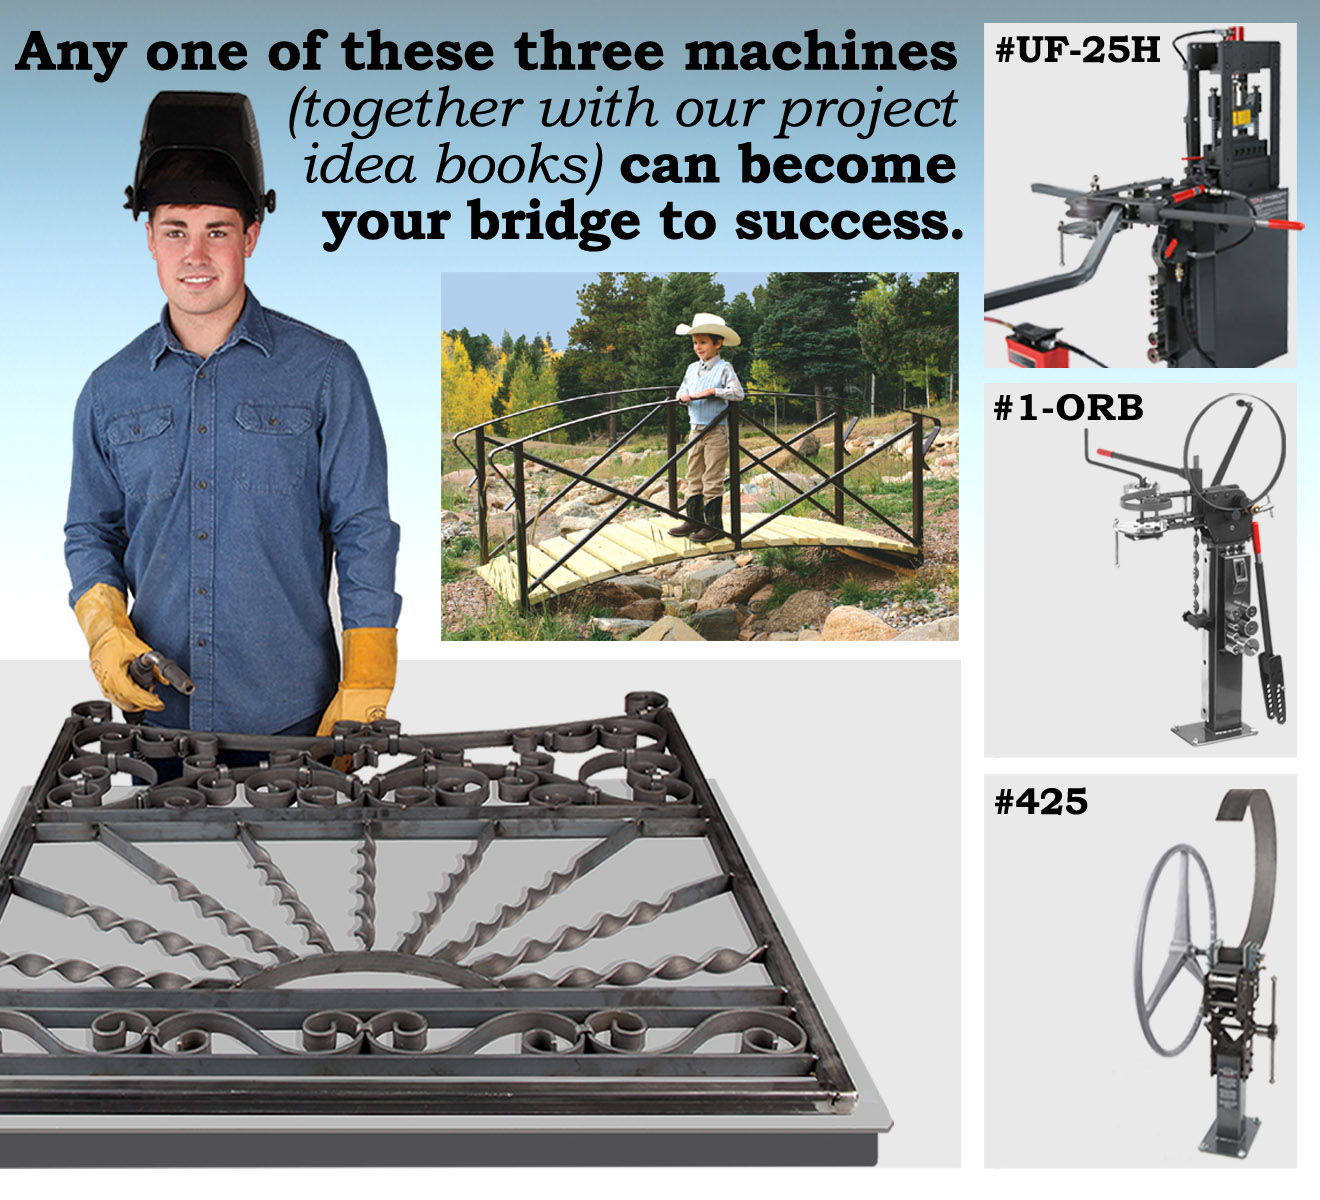
Metalworking Income-Earning Businesses & the Equipment needed to make them a reality.
We manufacture metalworking equipment which can help turn project ideas, in our books & instruction manuals into an income-earning creative business of your choice.
Metalworking Income-Earning Businesses & the Equipment needed to make them a reality.
We manufacture metalworking equipment which can help turn project ideas, in our books & instruction manuals into an income-earning creative business of your choice.
For free catalog call (719) 676-5555
Helping Startups Build a New Business that Makes Money and can Last for Generations
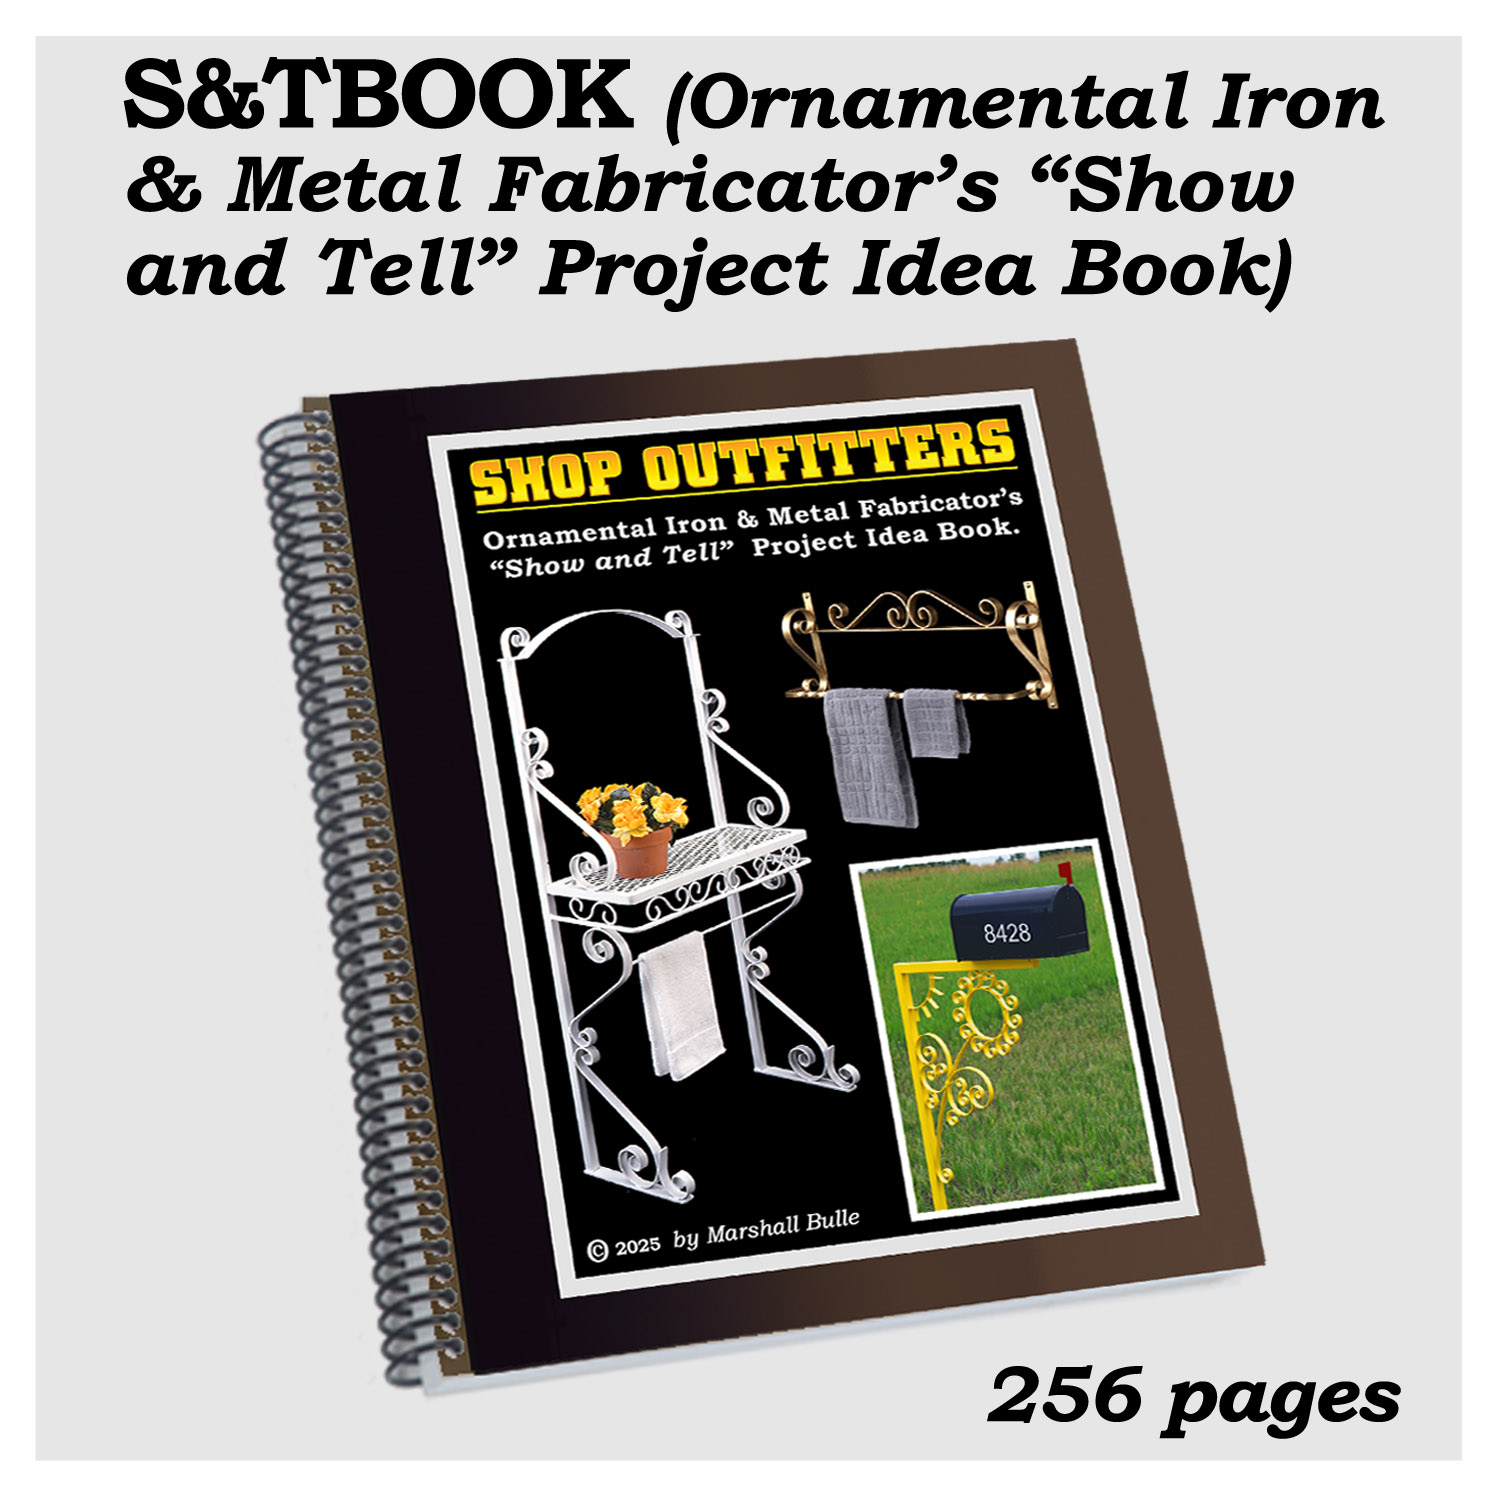
Shop Outfitters' mission is to produce unique high-quality metalworking equipment, useful project idea books and very detailed instruction manuals. The purpose of the books and manuals are to make it easy to understand how this equipment can be used to build and run a profitable metalworking business. Photos of numerous projects in them (built with this equipment) are useful for gathering ideas of items to make. However, they appear to be of even greater value when shown to potential customers as a way to acquire sales. These books included a fair number of very impressive projects that were built by owners
of Shop Outfitters' unique metalworking equipment.
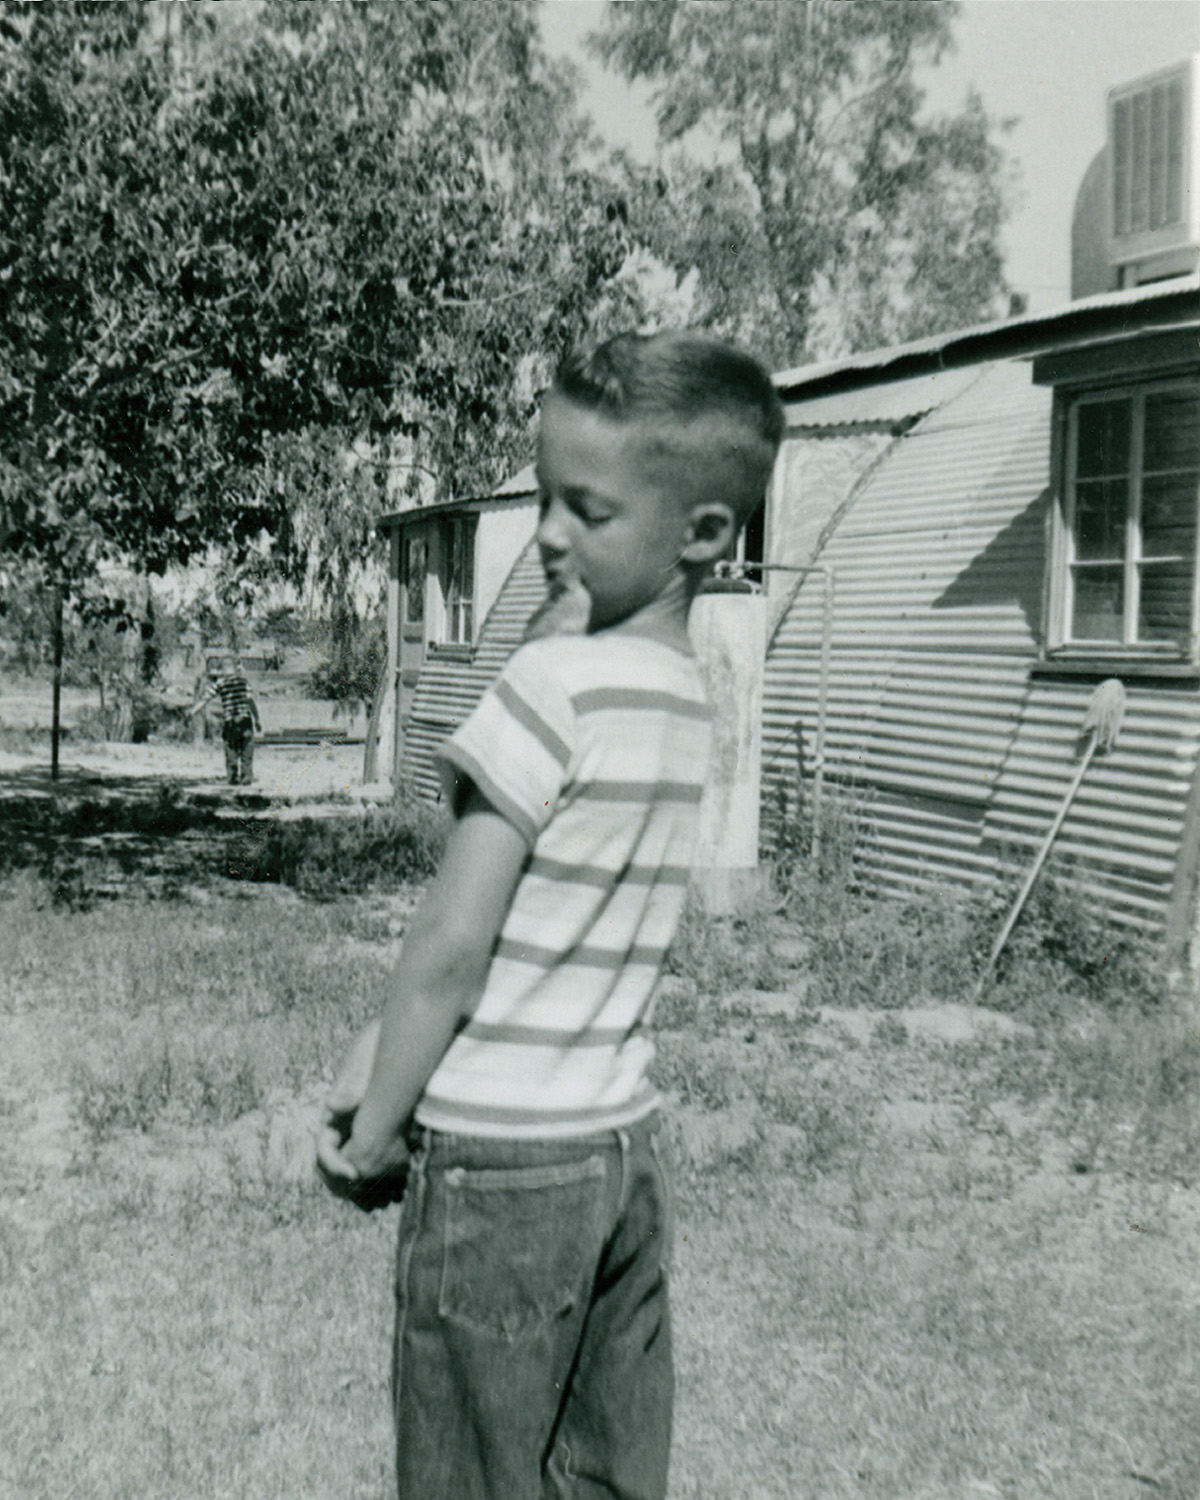
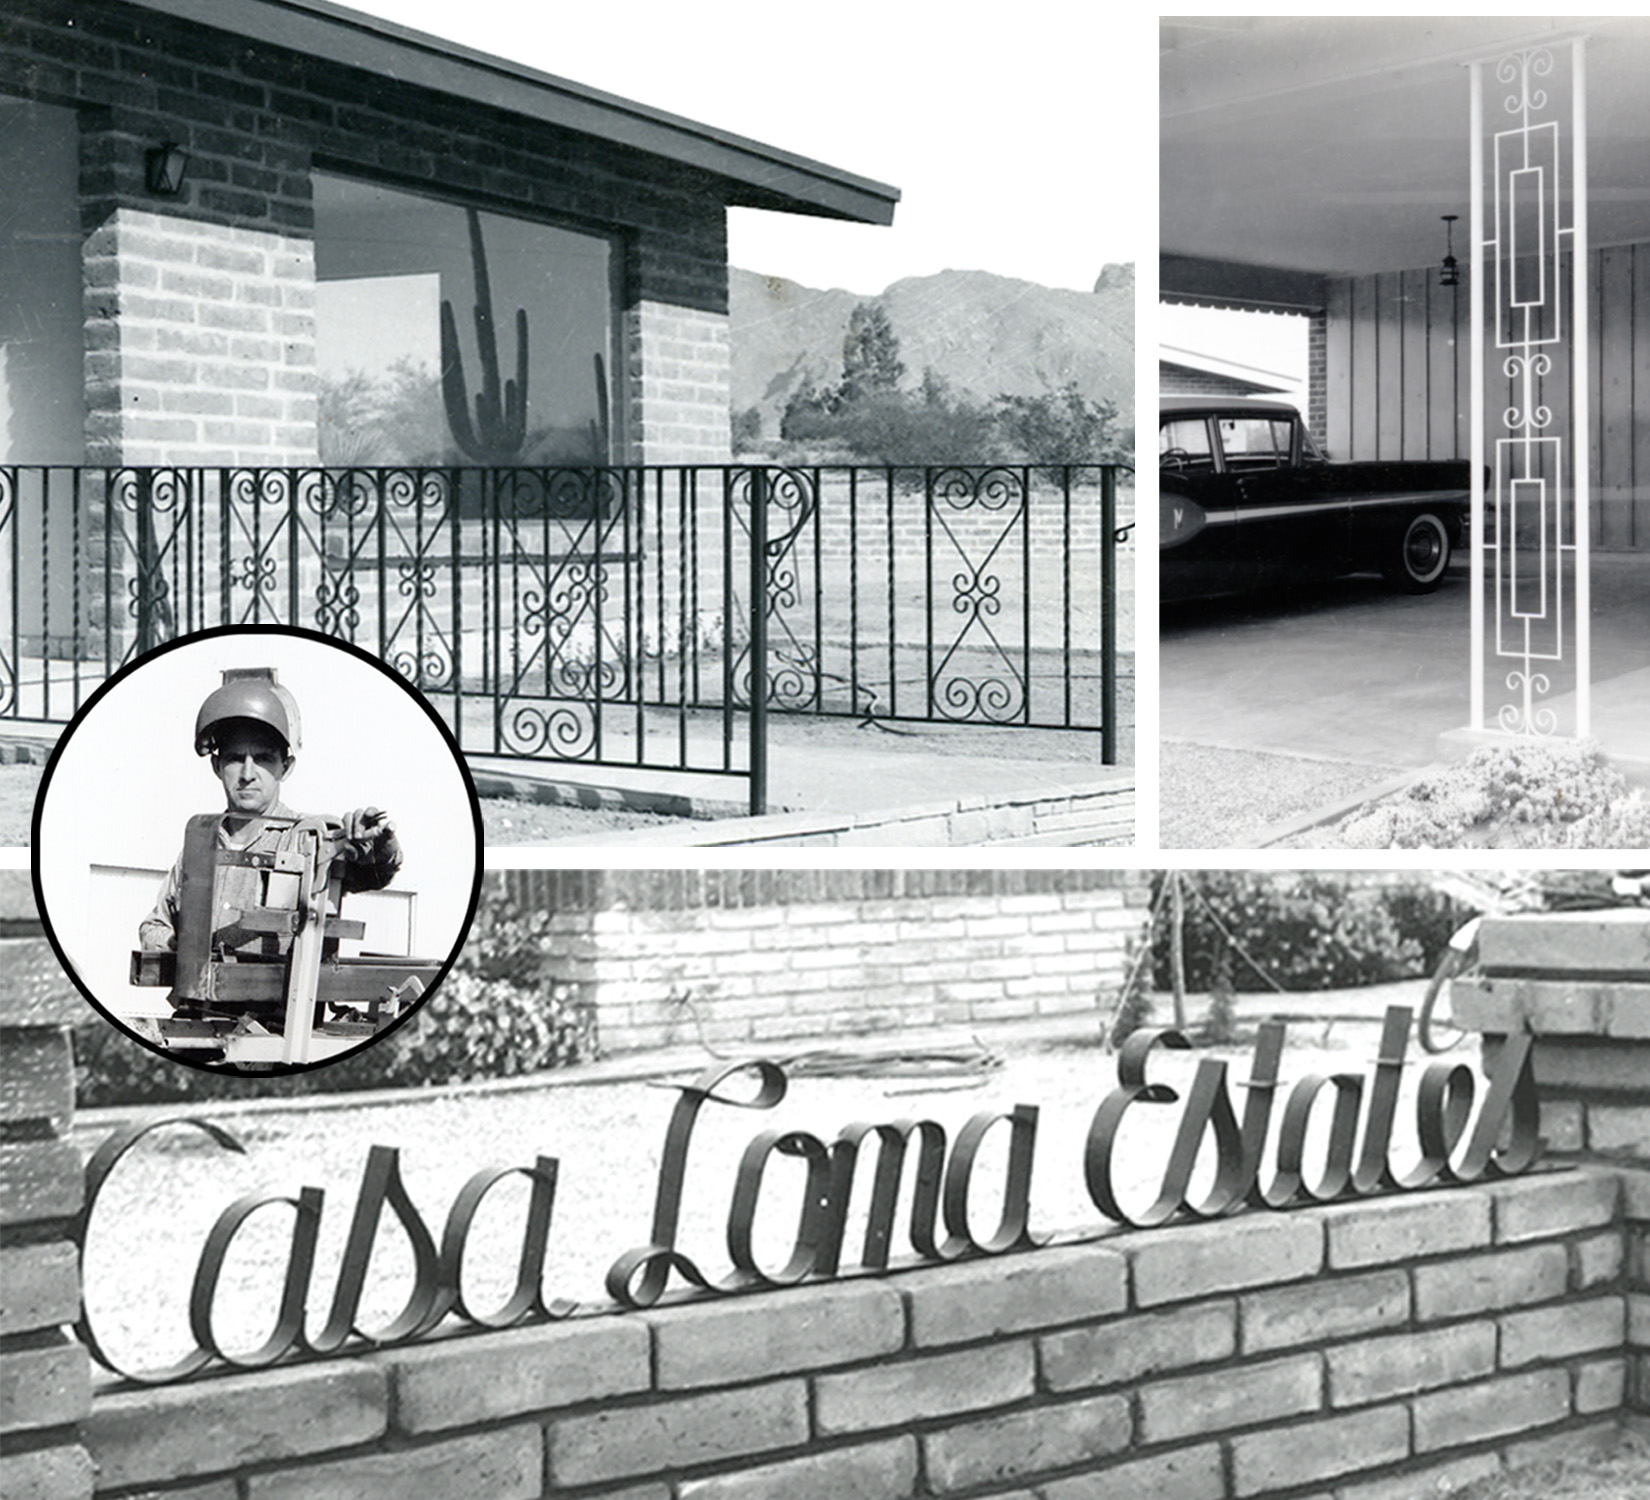
Shown below are a few projects (in the first image) I built in my Minnesota shop in the 1970s. Do you think it takes a lot of money to get started? Take a look at the kid in the first picture below standing next to the dilapidated Quonset house he called home. That kid (who is me) was fortunate enough to escape abject poverty, along with his brothers and sister, all of which went on to own or run significant businesses. My father is seen in third photo below along with a few projects he built in the 1960s in Tucson, Arizona. Despite being poor his strong work ethic, which he imparted to his kids and grandkids, led to many of them becoming business owners and operators.
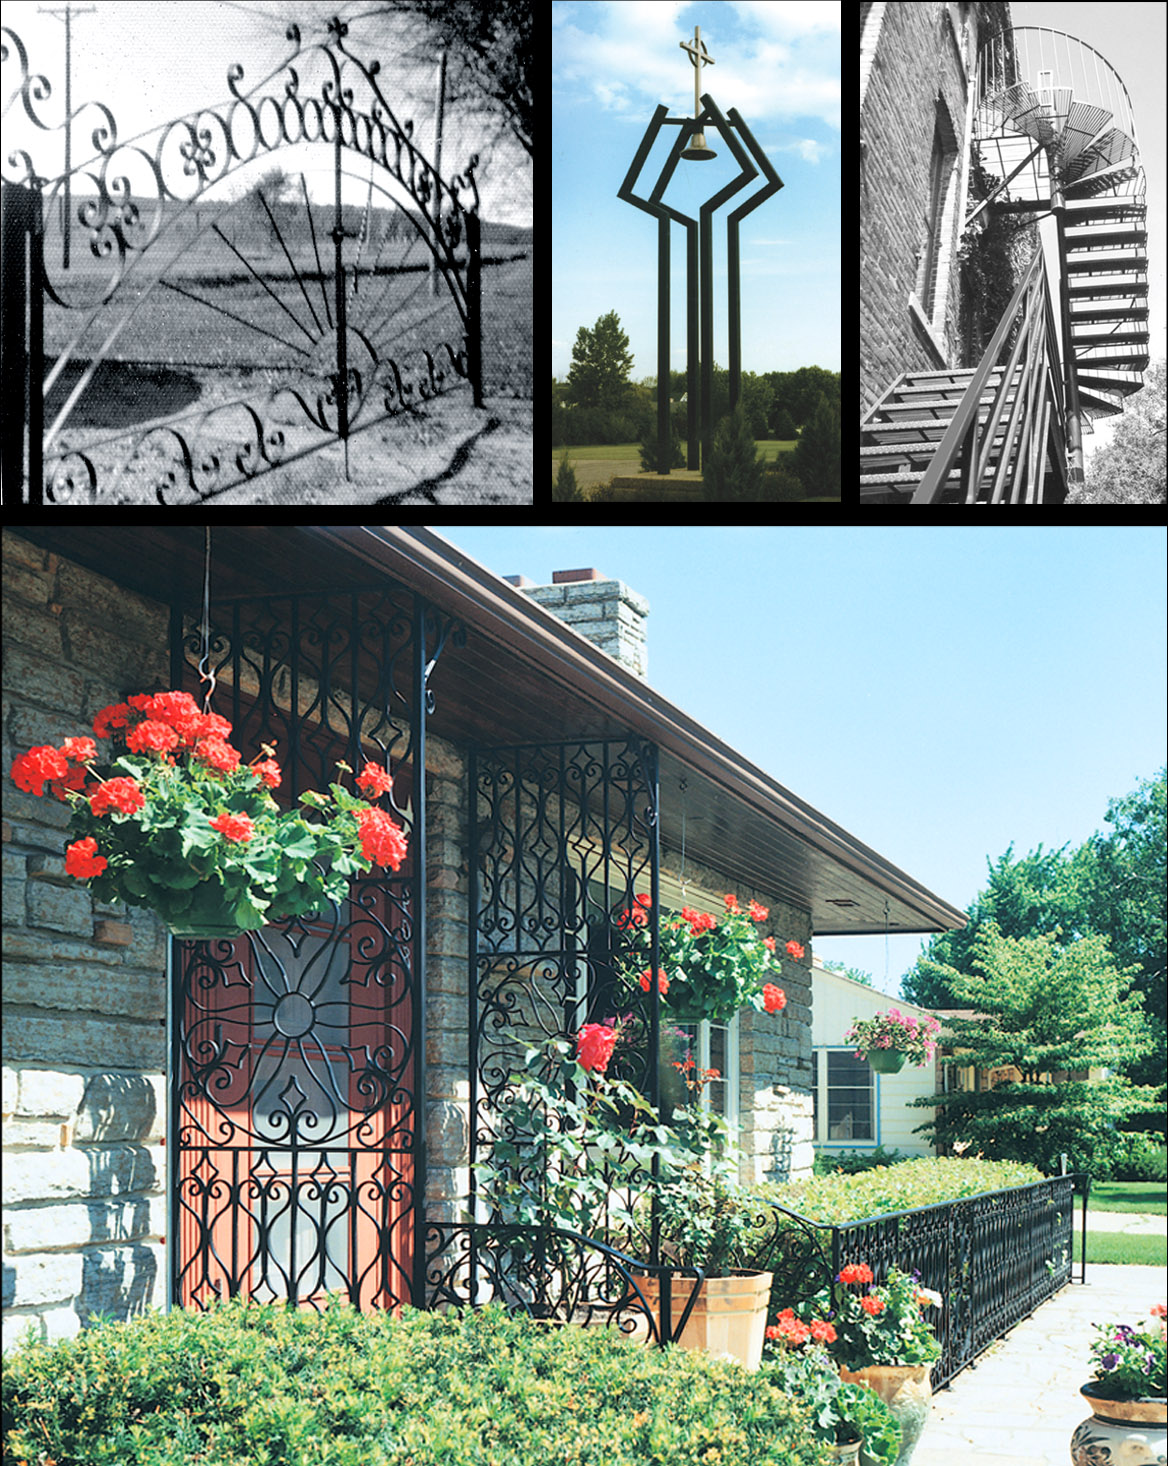
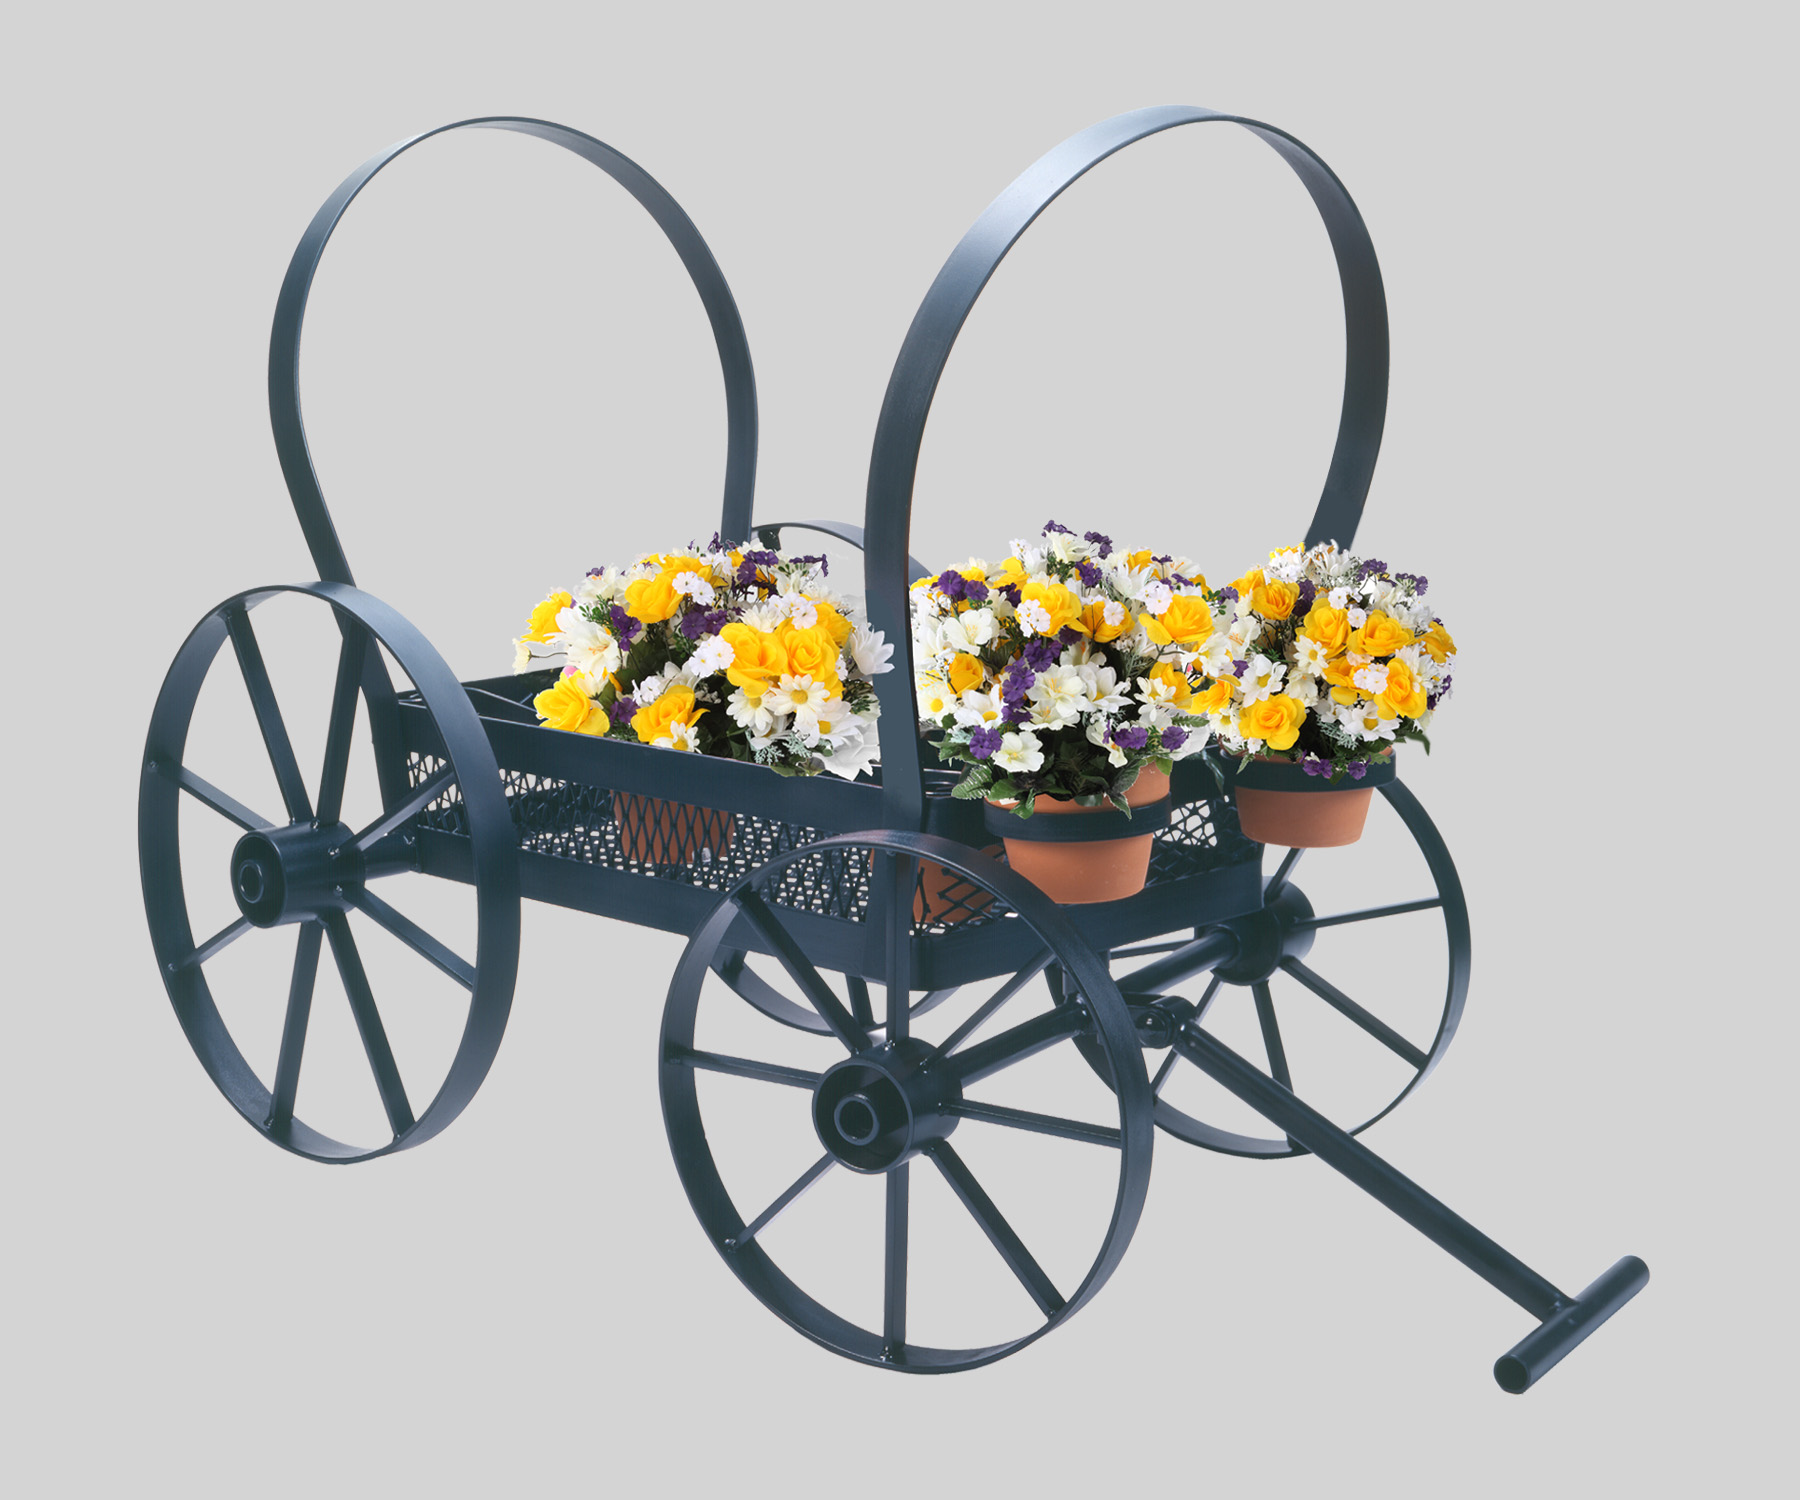
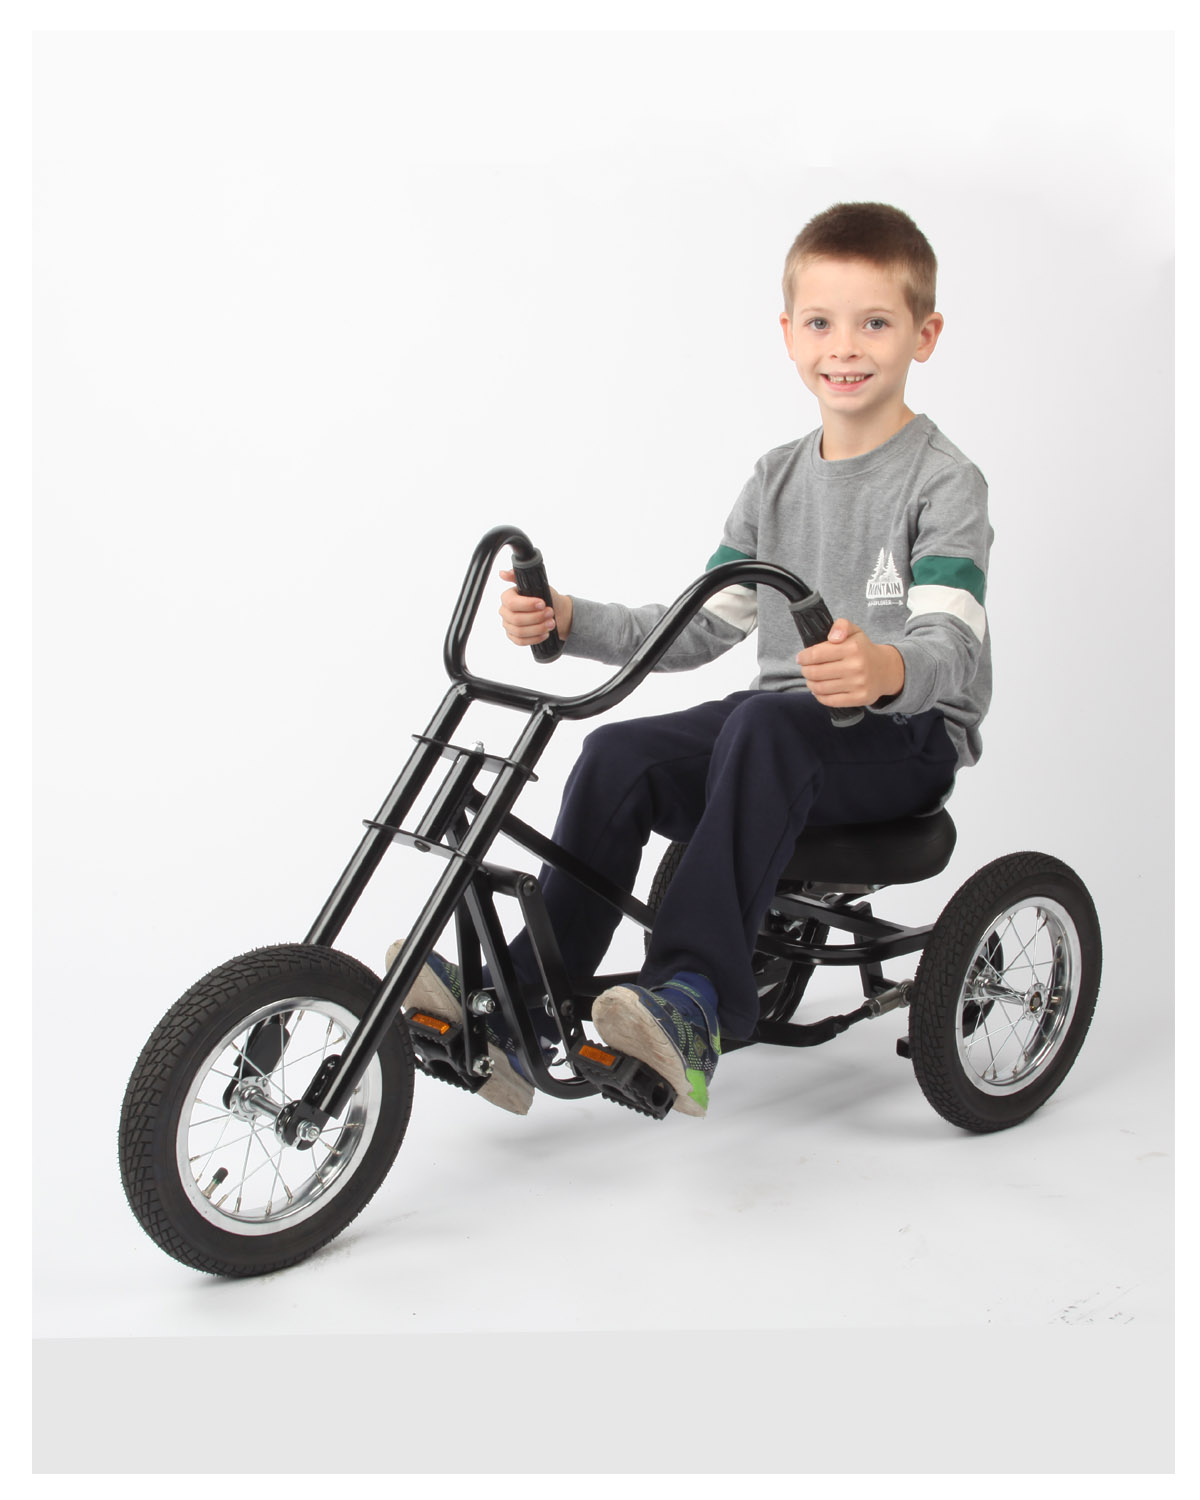
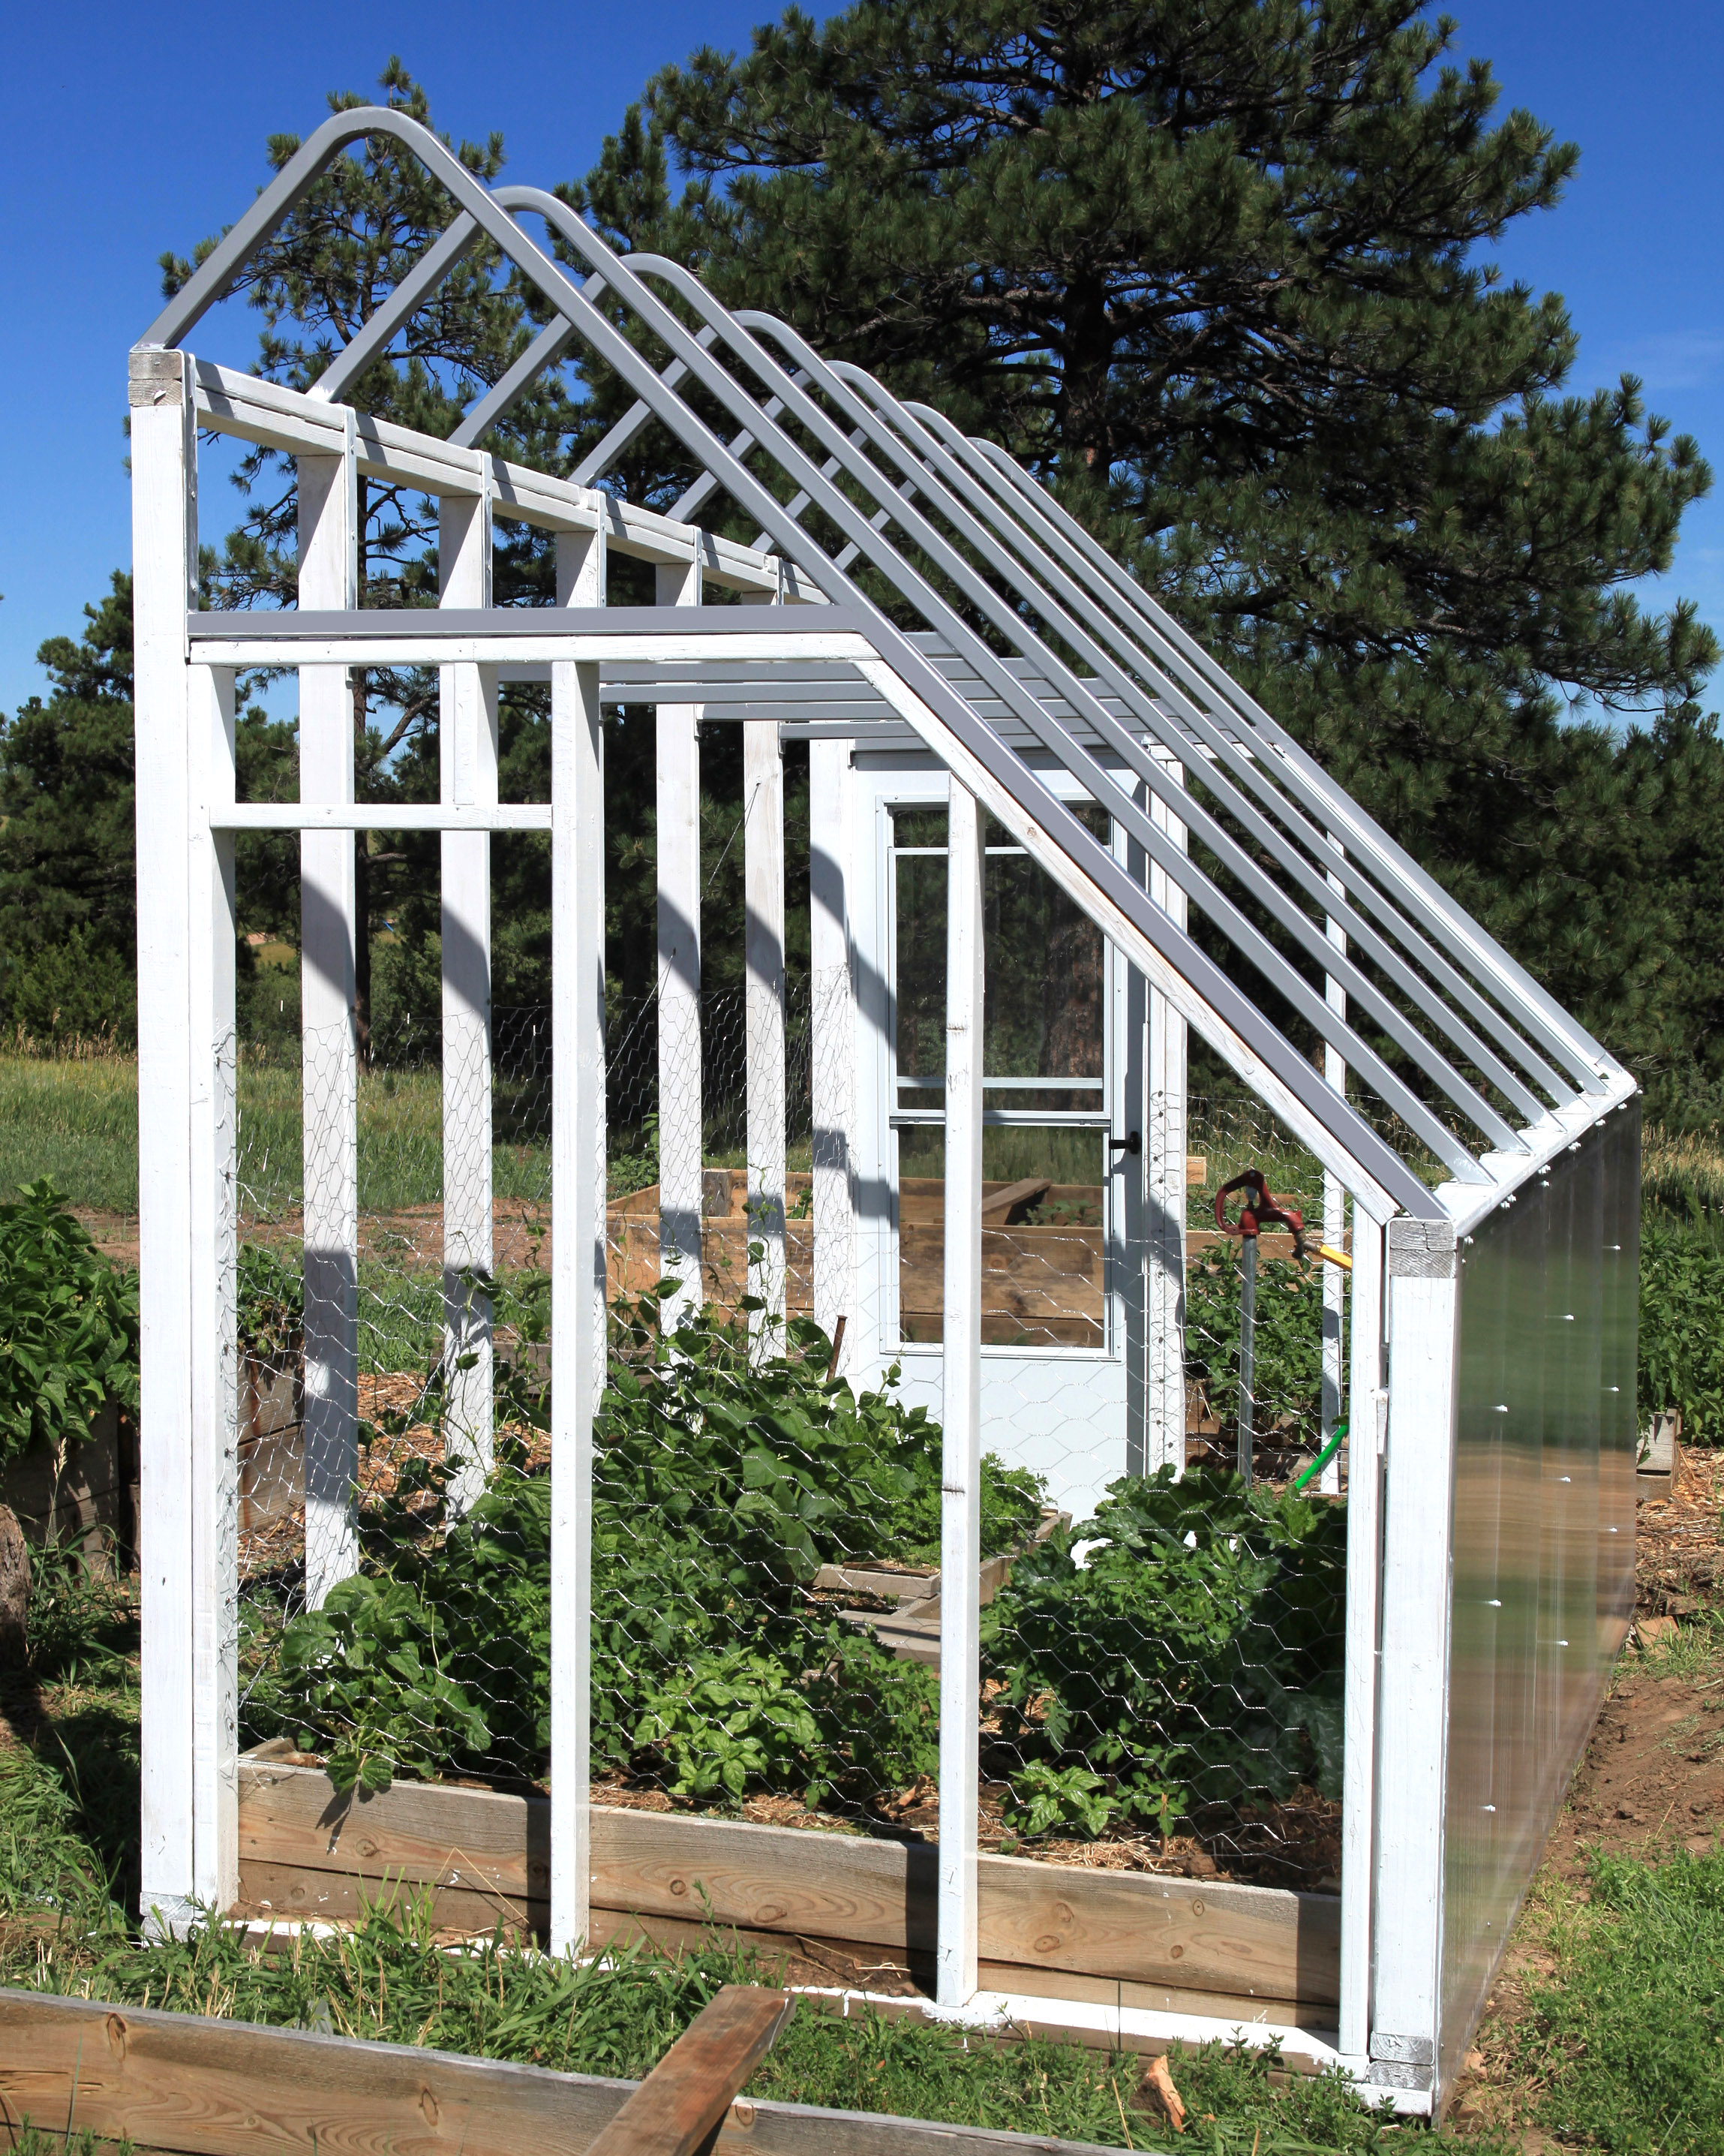
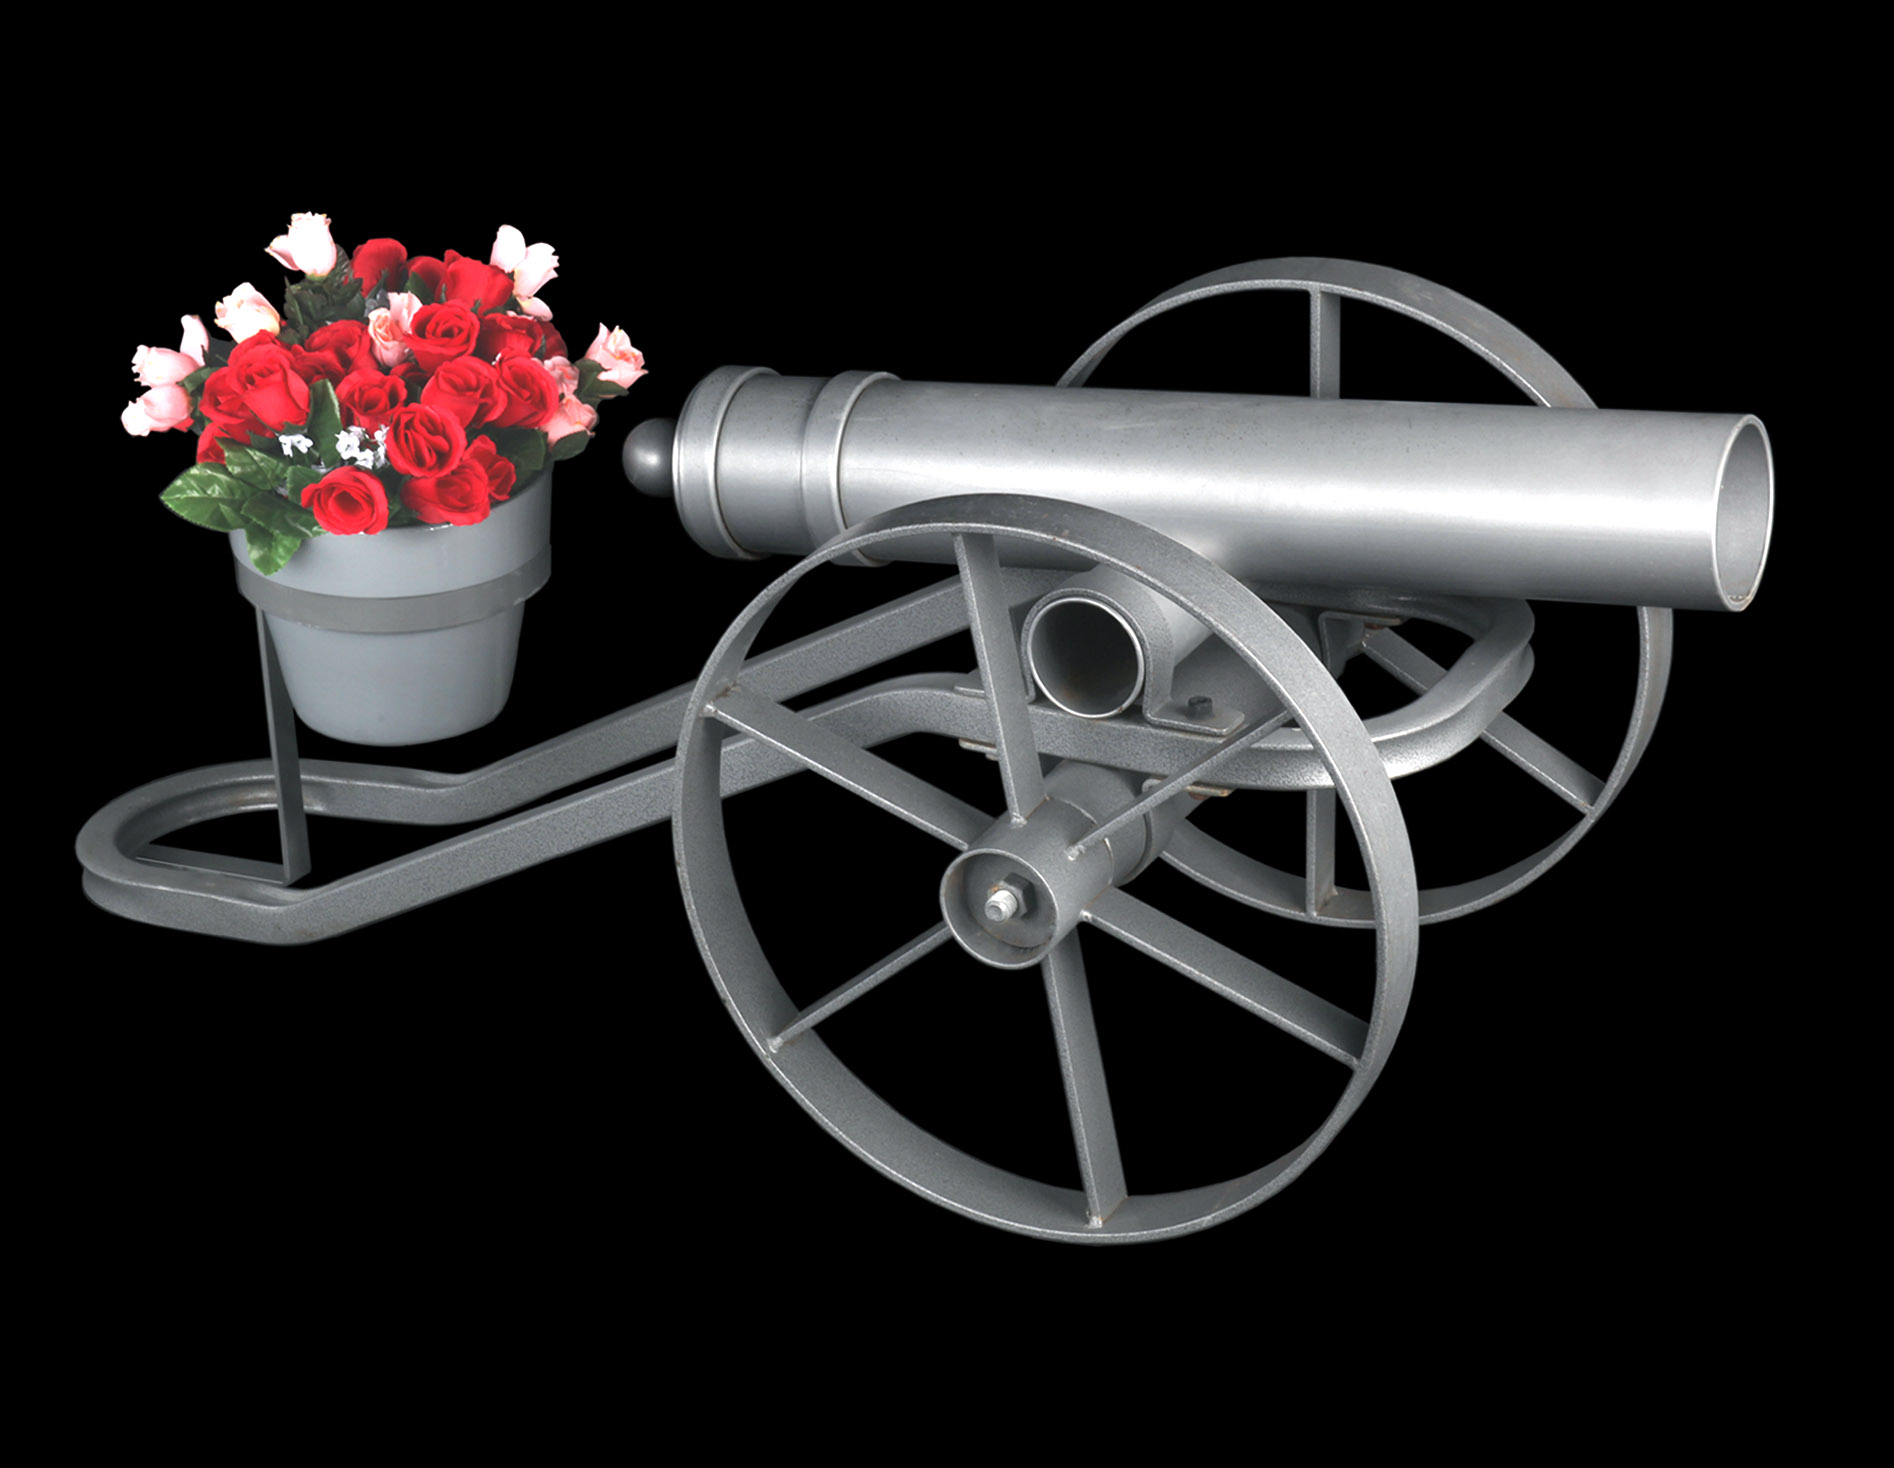
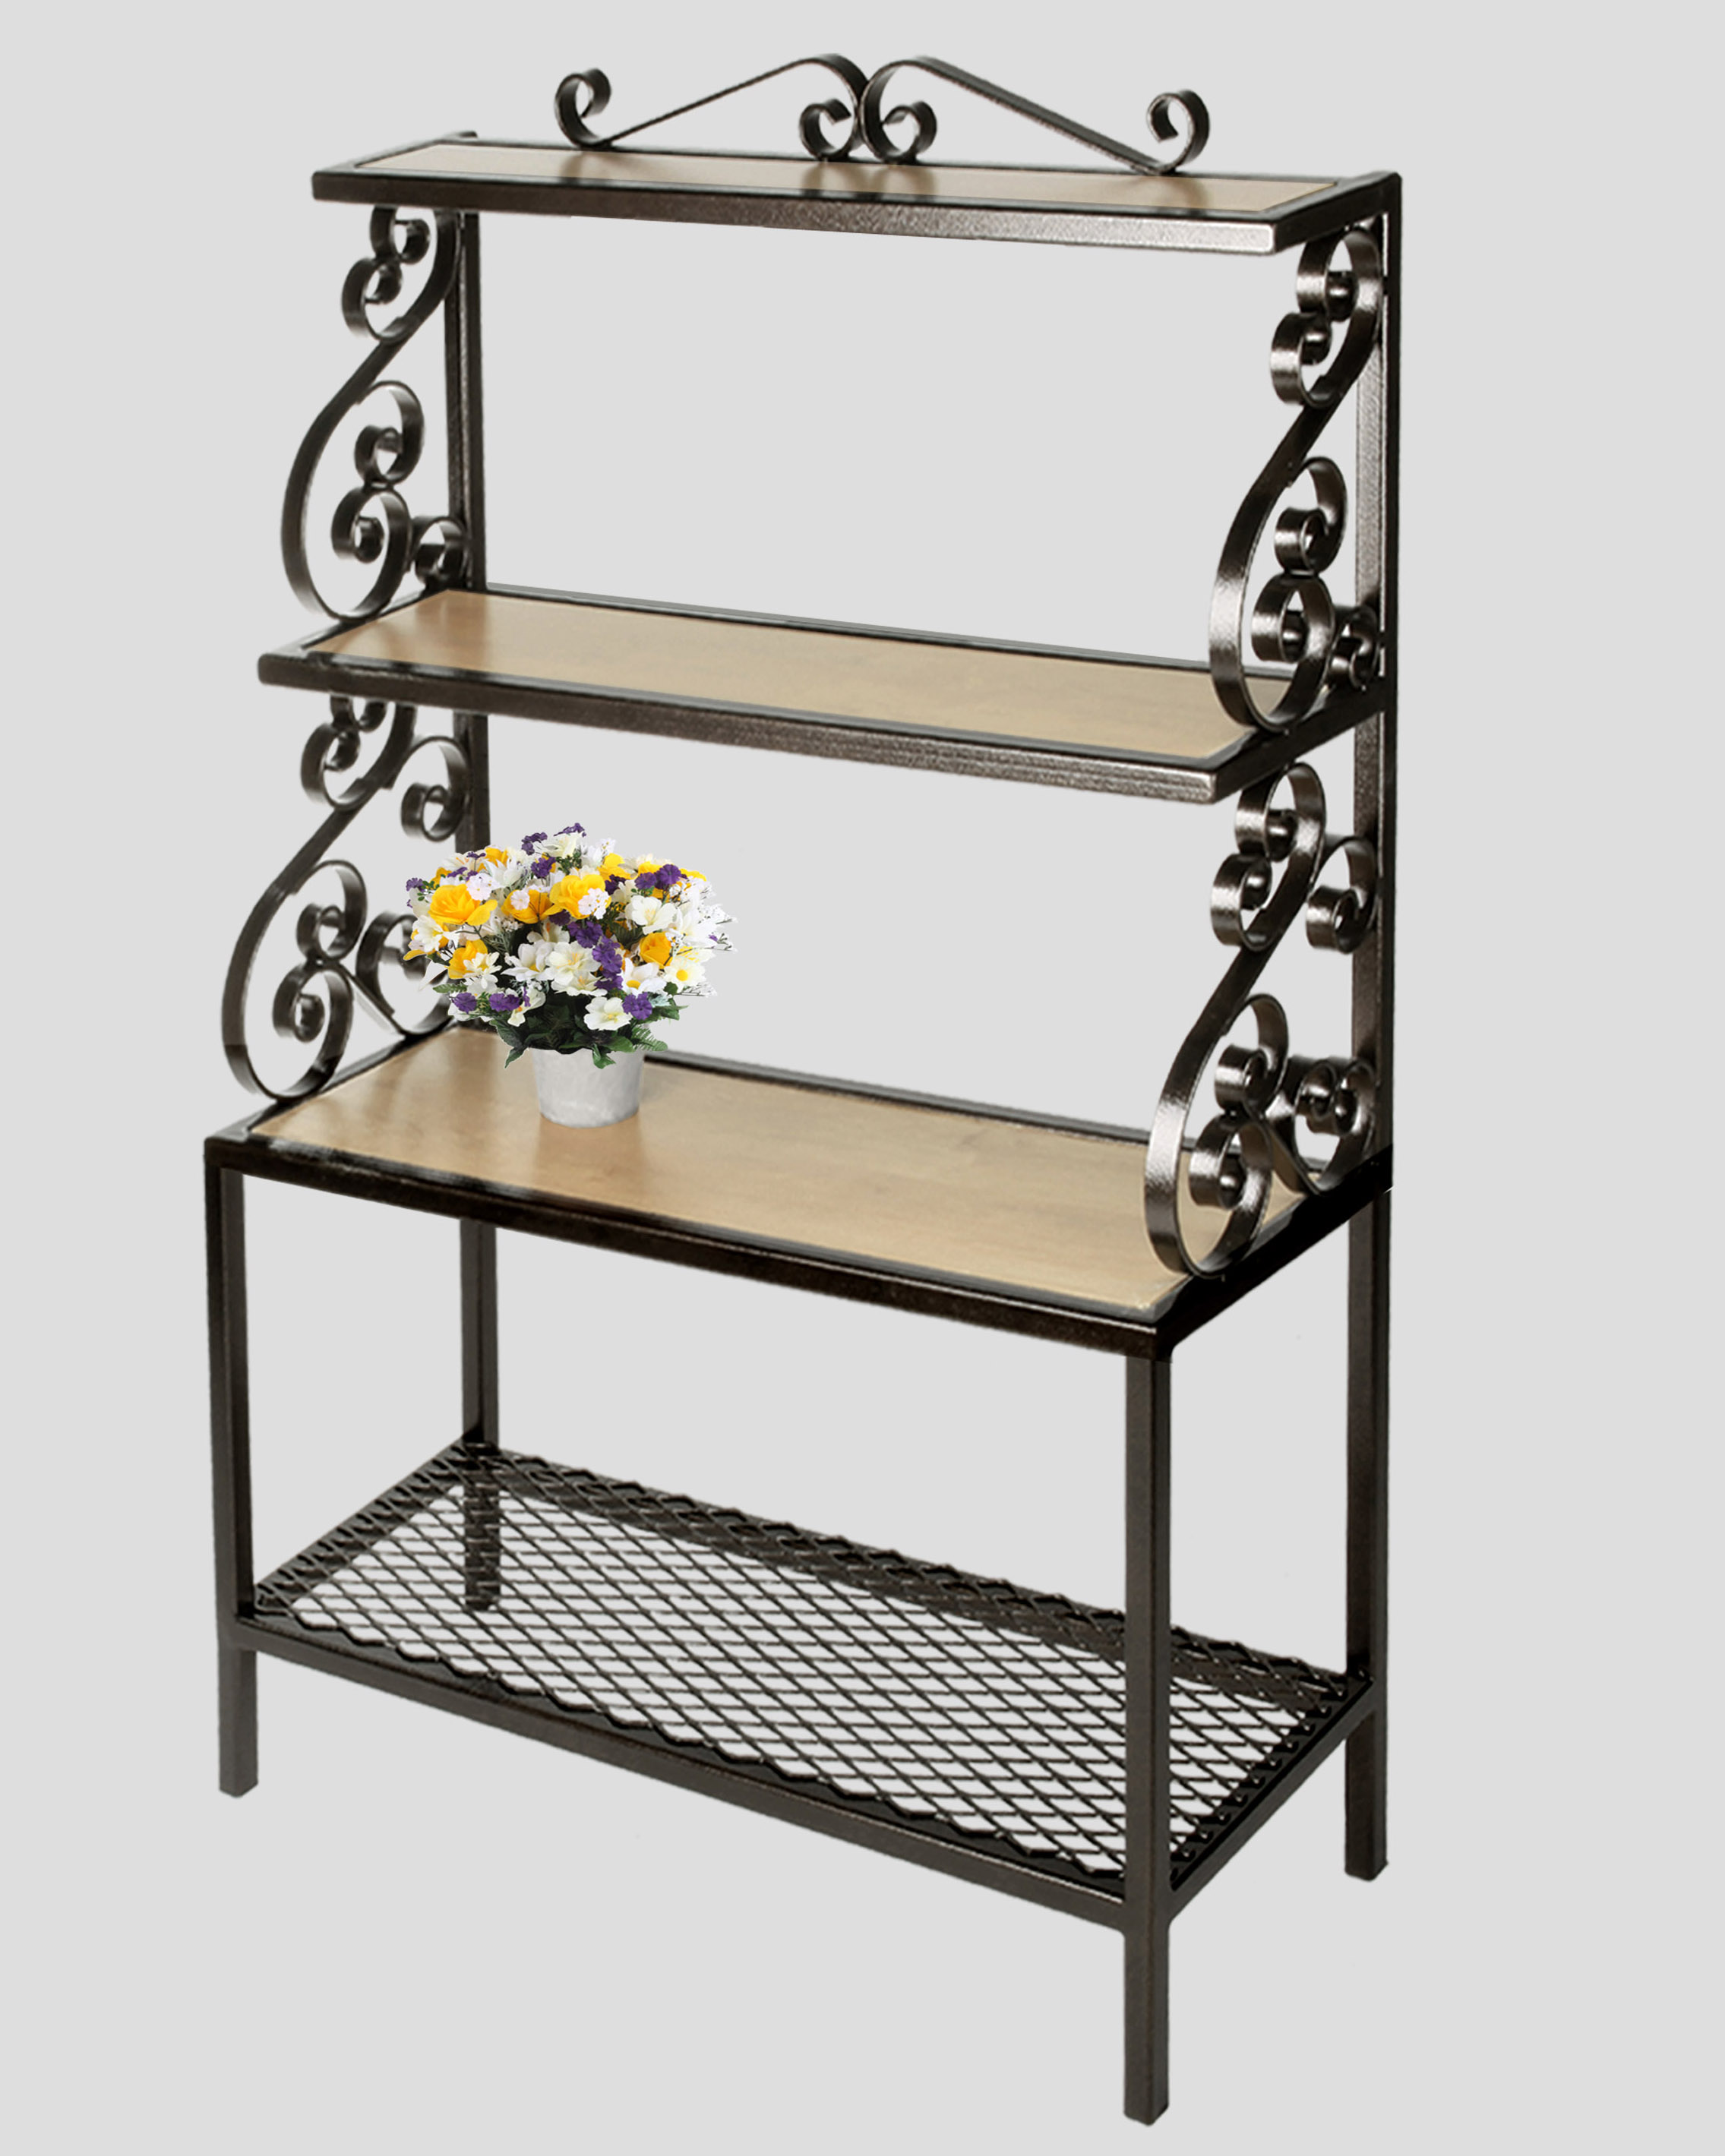
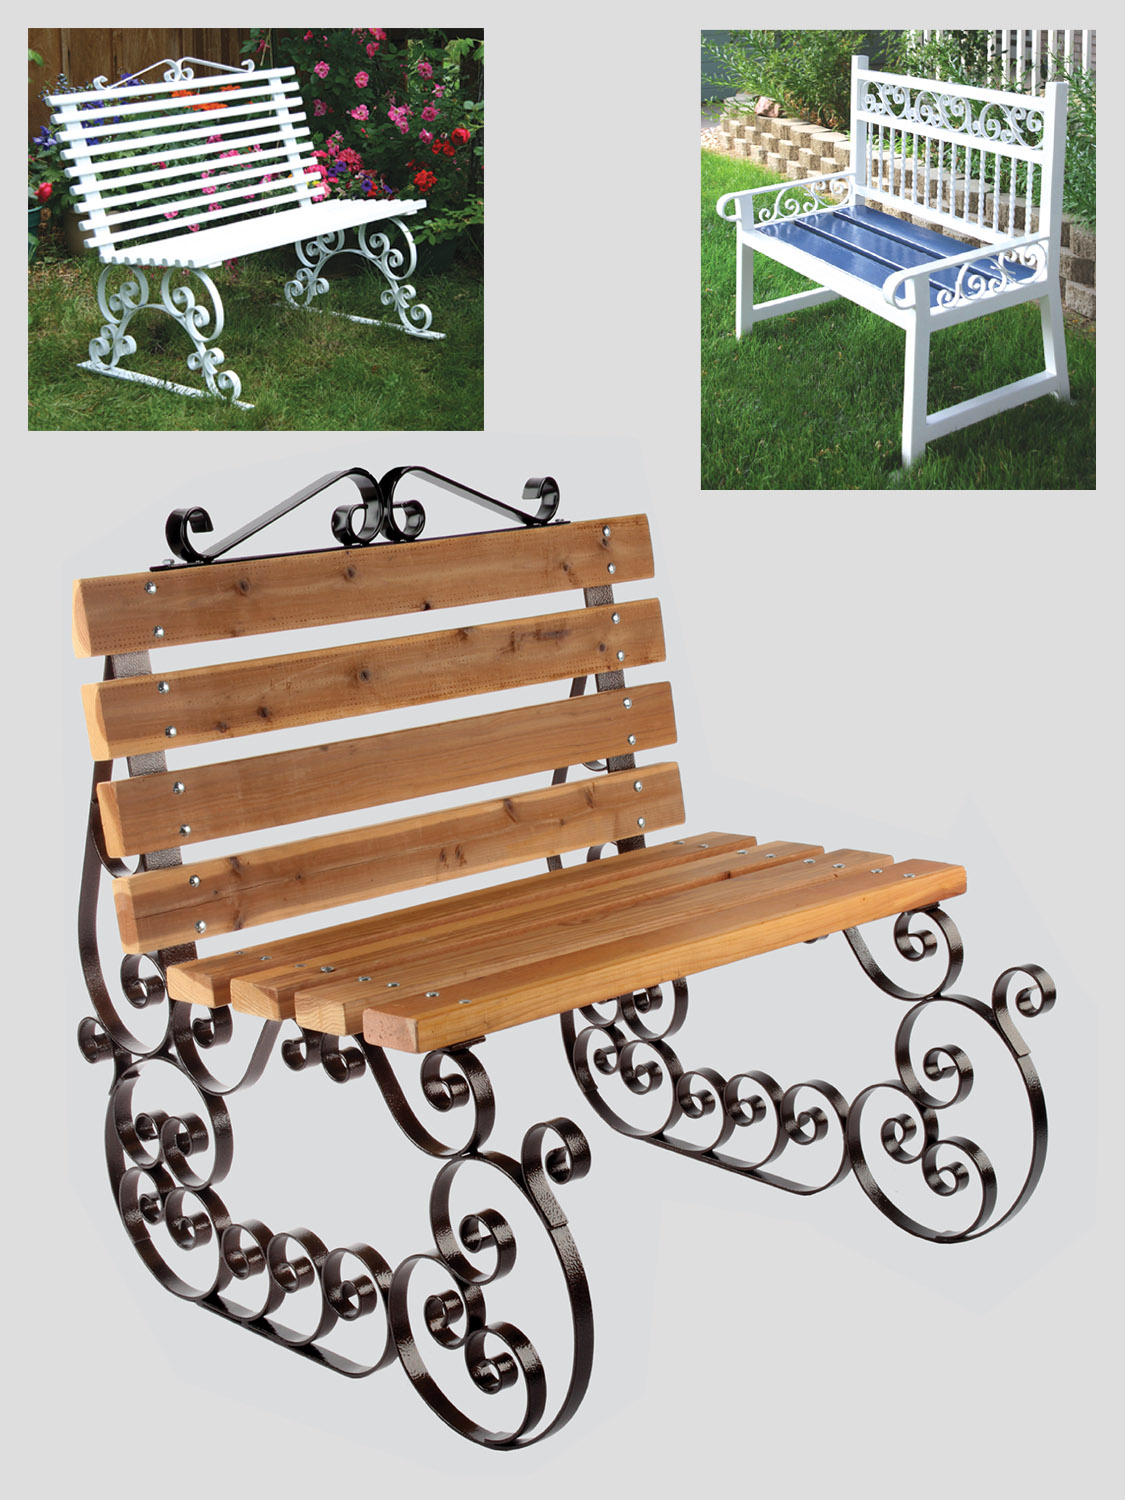
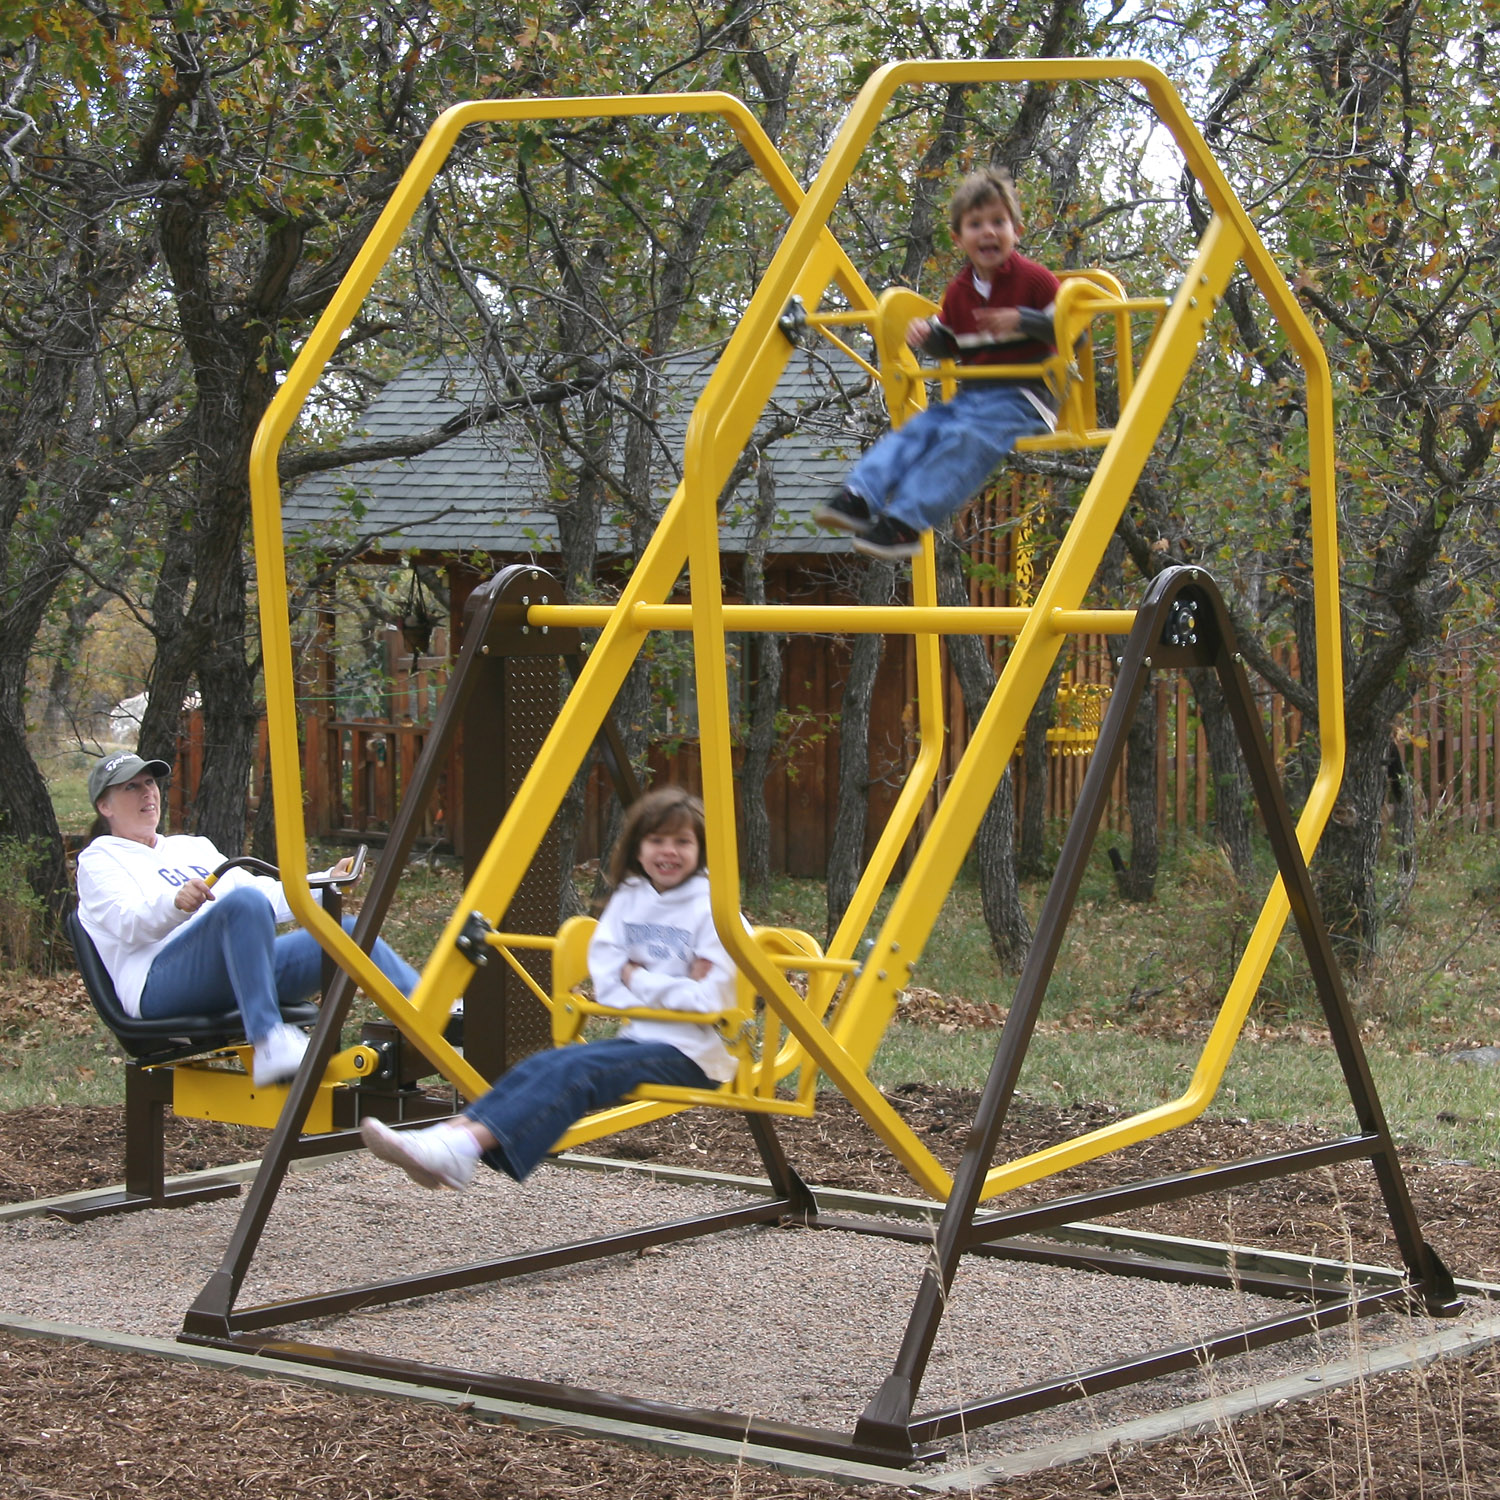
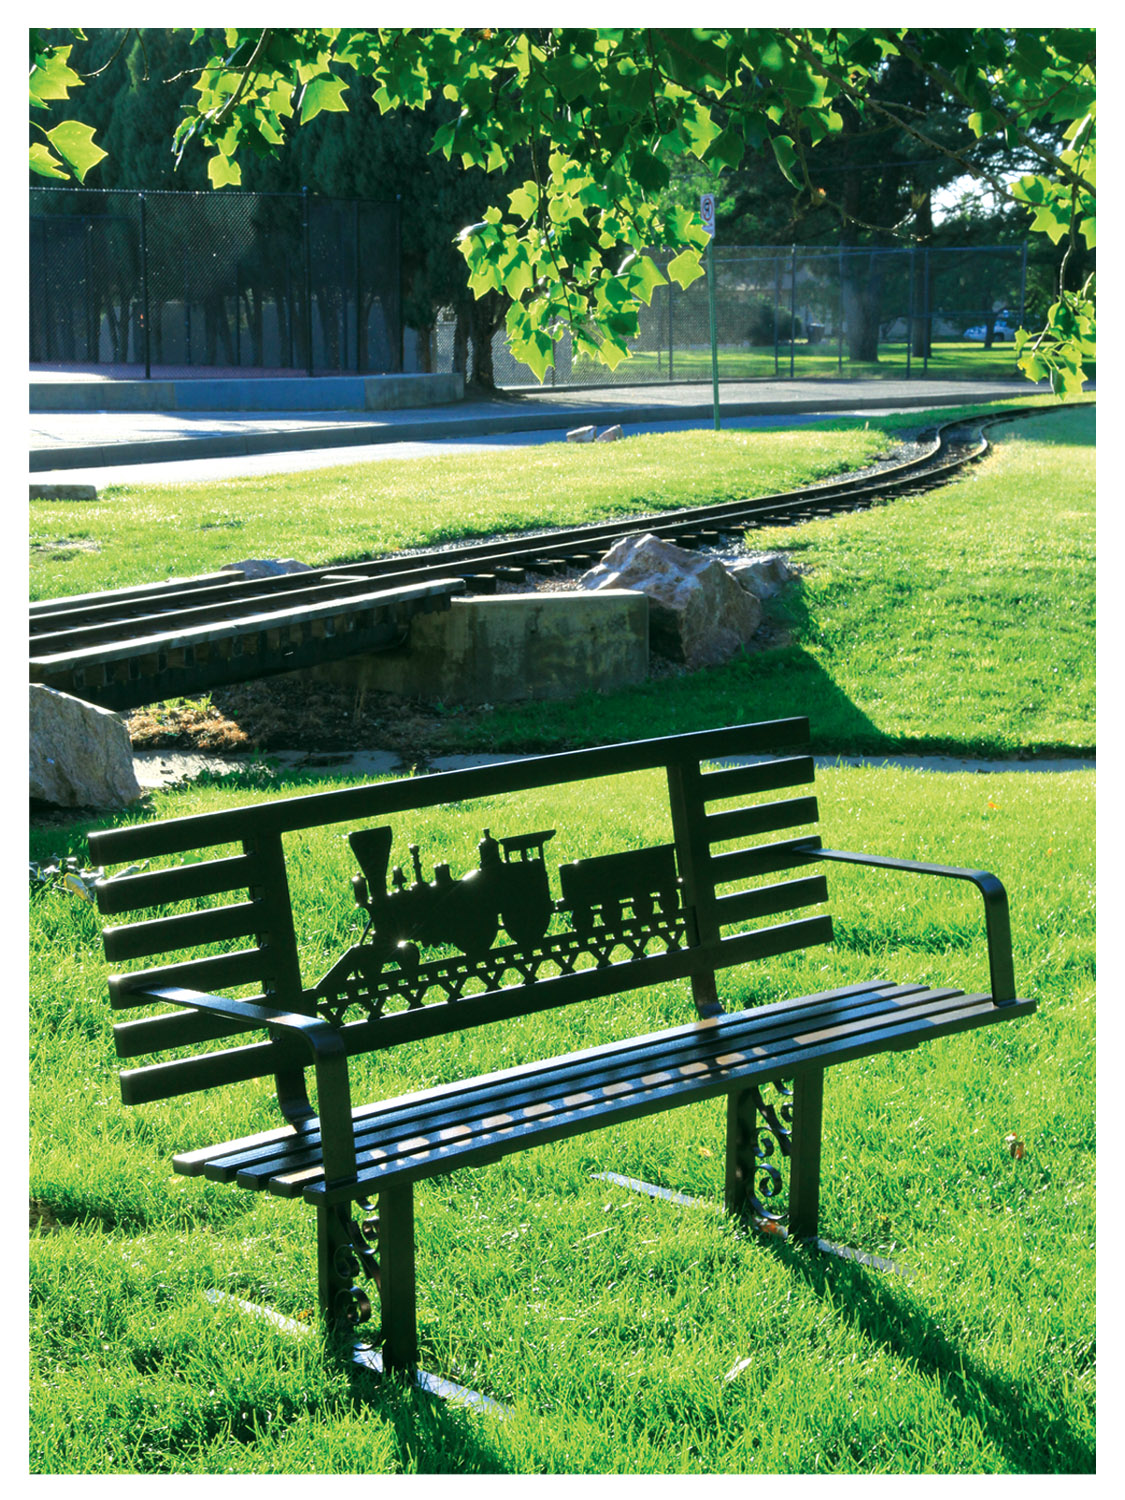
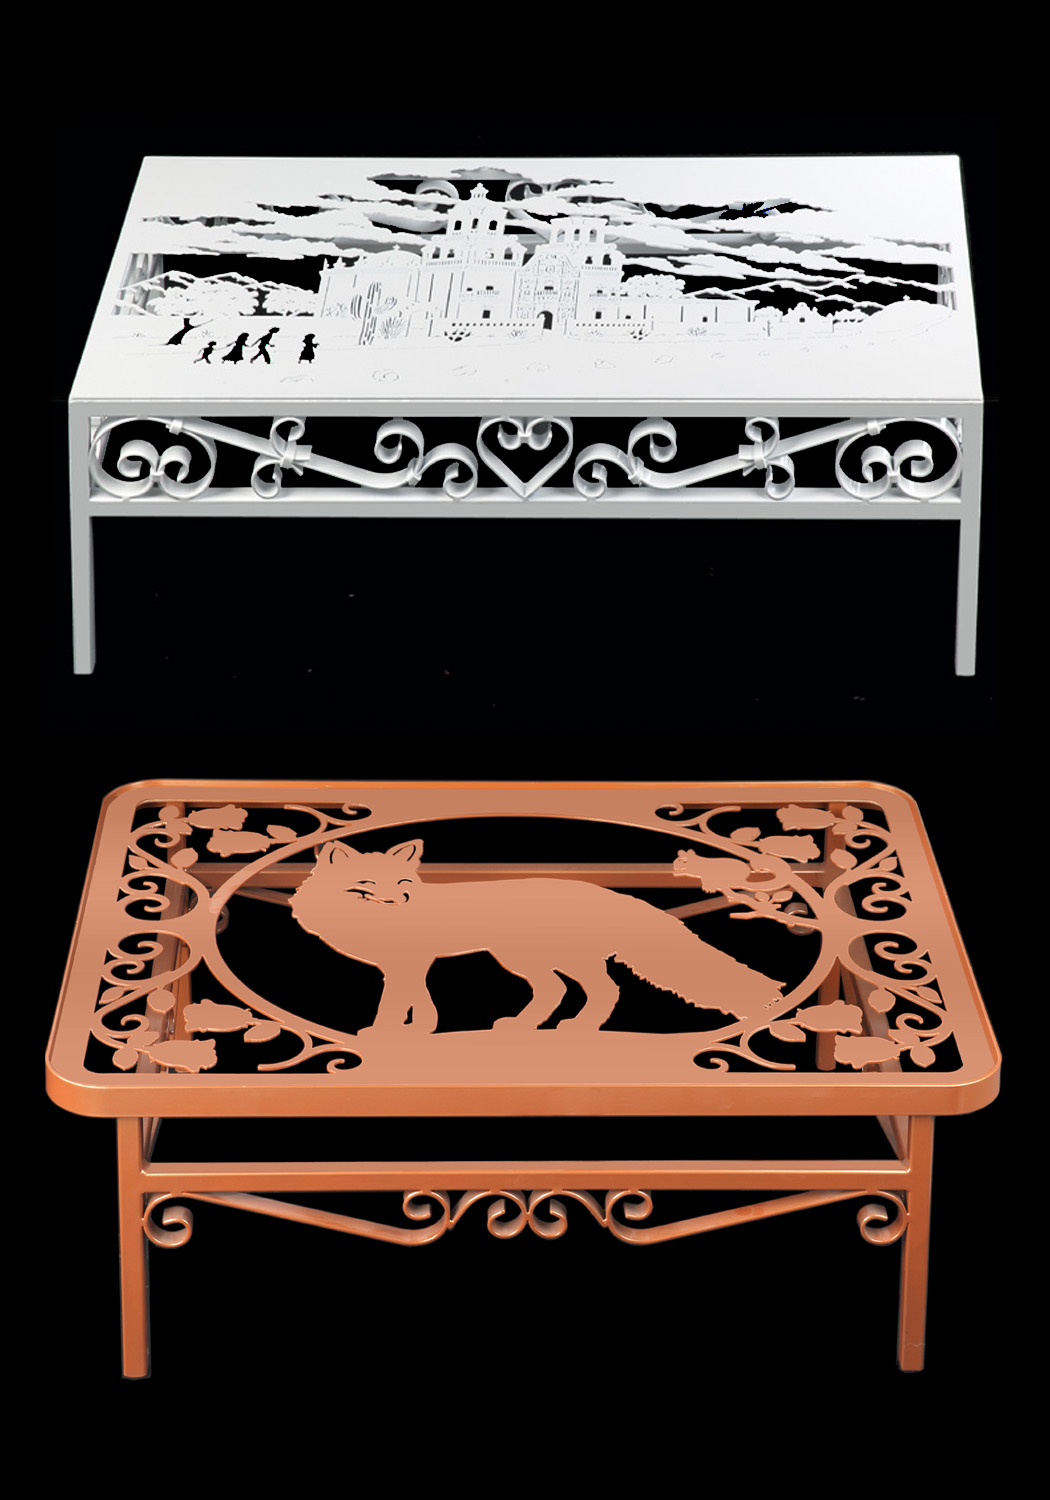
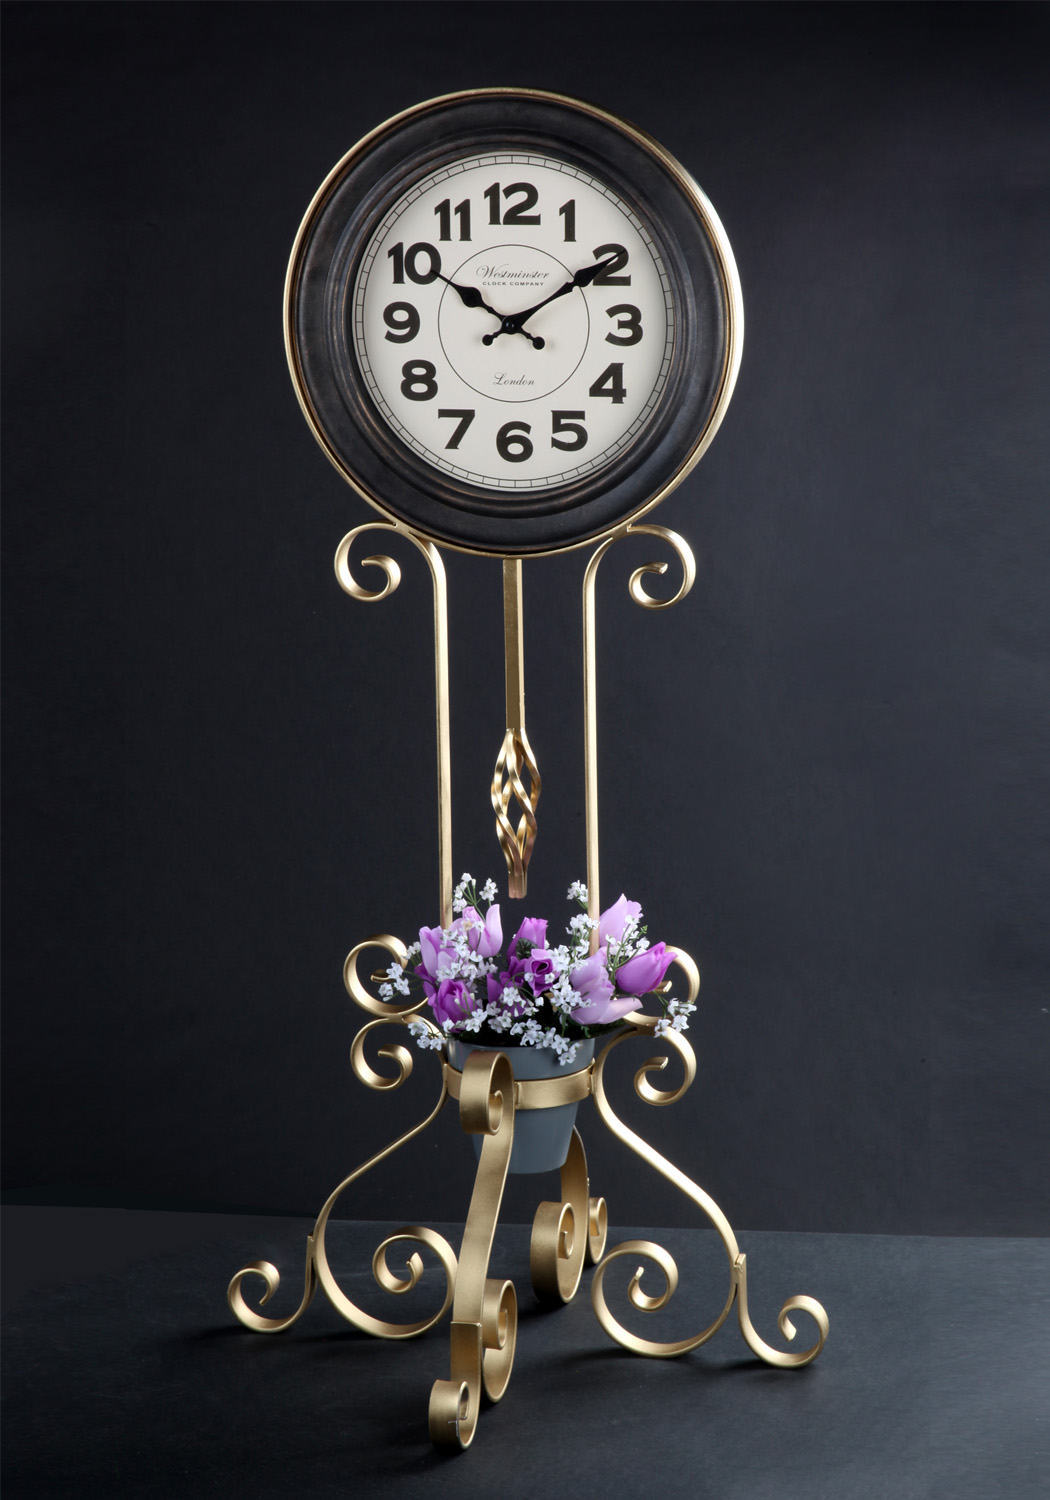
Show below are a number of projects that our customers have shown particular interest in that were made using our equipment. A few of these projects also have silhouettes incorporated in them that were cut out with one of PlasmaCam's plasma cutting tables.


The majority of our calls and equipment sales come from those wanting to start a business.
Explore a wide variety of fabrication and ornamental ironwork projects created from our books and by Shop Outfitters equipment owners. Backed by over fifty years of welding and fabrication experience, these projects showcase practical business opportunities that can be started with minimal investment and experience.
Used by Individuals, Schools, U.S. Military, Fabricators and Shop Owners Worldwide.
“Shop Outfitters' #1-ORB gives users, beginners or professionals, the precision of a master blacksmith, only no wait time for cooling metal. The repeatability, durability and ease of use is unmatched".
Shaun Music
“I bought one of Shop Outfitters' Fabricators." It is impossible for me to begin to describe all the things that
this machine can do. I have made money with it from the very beginning."
Bill Mansfield
“Once I started using it in my shop, I was amazed what a good machine the Fabricator was. It was easy to use and made good consistent bends. I was really impressed with the quality it."
Brad Oconnell

About Us
Shop Outfitters (founded in 1985) provides specialized metalworking machines which are the foundation of an almost unlimited number of specific project business opportunities. Our Show & Tell project idea books contain hundreds of photos in them that were built with our equipment. They are not only a good source for project ideas, but they also act as a sales helper for anyone making things to sell using our equipment.
Copyright© 2026 by Marshall Bulle - All Rights Reserved.